
My day started off by happily stumbling upon the very beginning of Ghostbusters on VH1. For the past couple years, I've been trying to figure out how I can get my hair that big to be Dana (as Zuul) for Halloween. After watching the flick this time around, I still haven't figured it out. Anyway, here's a clip from the film in case I've put you in the mood and you need your fix:
Aside from being appropriate to my comment, I tried to pick a different clip from Ghostbusters that I've yet to feature on this blog. (Although you can still watch "He Slimed Me" in it's original Halloween Spot post - just another great clip from a great flick!)
After watching Ghostbusters in it's entirety (and losing that portion of the day to be productive,) I unwrapped the new gravestones I bought and placed them outside. (purchased at Target and Party City) One "stone" in particular had a job: I was making a grave site this year!

Of course, just like when baking, I never have all the components I need when I start a project. For the grave site, I also needed some bones and some loose soil. I made a pit stop at the local Halloween Adventure first, since I haven't visited it yet this season. It must be said, I was incredibly disappointed! Their stock was less than impressive, and what they did have was way overpriced. Oh well! I knew where I could grab some bones; I had eyed up Target's Bag of Bones on a previous trip. A little pricey for being styrofoam ($20,) but I needed them to do the job. Then I ran over to good ol' Home Depot and grabbed the cheapest bag of soil I could. And I paid for it. It smelled... unnatural.

Next, I laid out the bones to get an idea of which ones I would use and about where they would go.
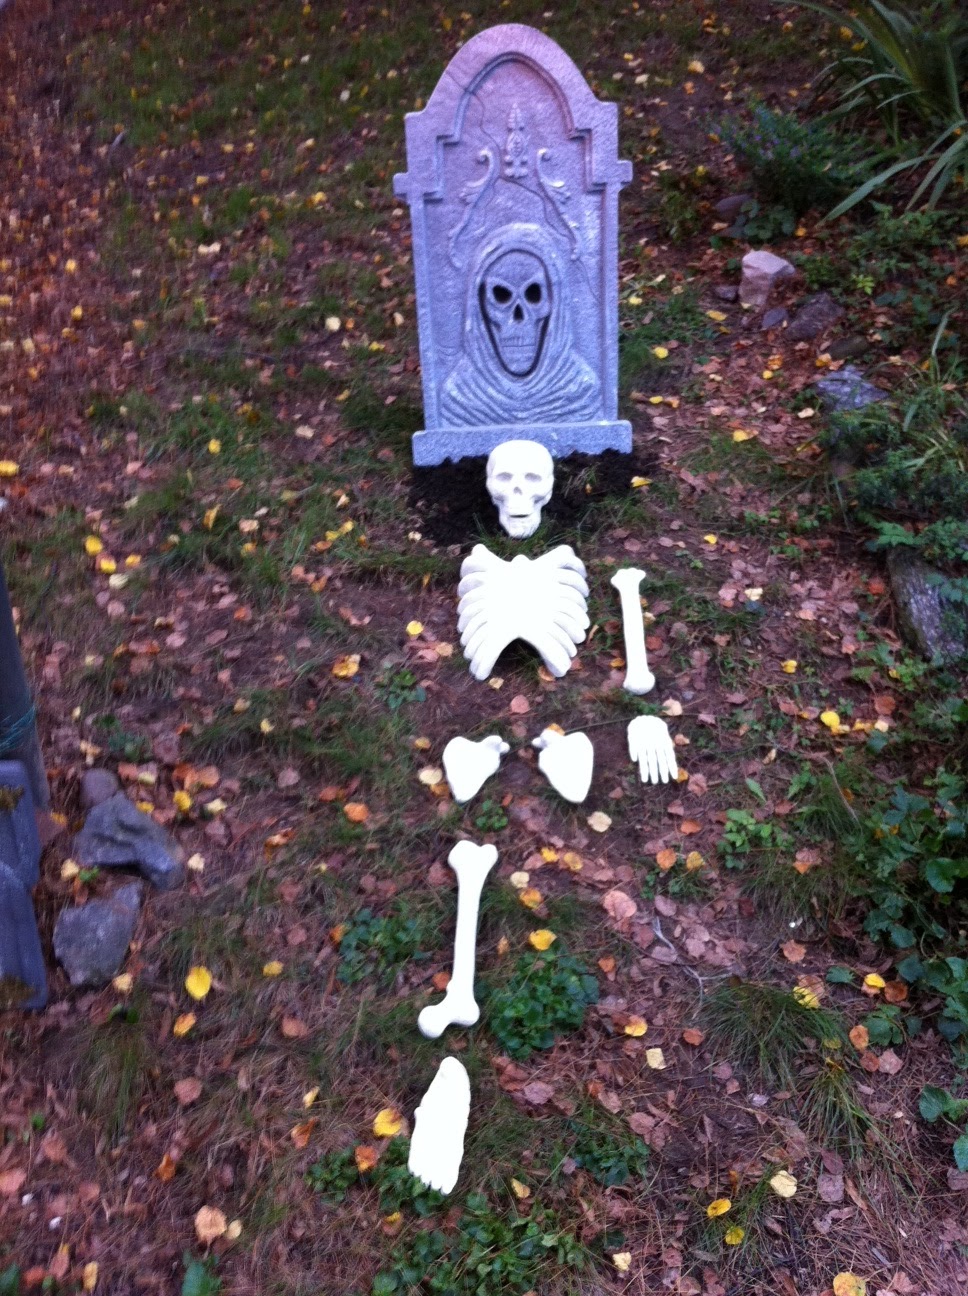
Two reasons I didn't use all the bones in that bag. 1) I thought this would give a better creepy effect, and 2) I now have extras in case any little assholes decide to grave rob.
To lay the soil, I shoveled it bit-by-bit into a bowl to break it up (as it was pretty damp) and to be able to spread it more easily. This process took a little while, but I thought the outcome was pretty damn good!

I used up the entire bag here, yet some of the ground beneath came through in blades of grass and leaves. That is A-OKAY. I plan on spreading another bag of soil over the "grave" closer to the date of our shindig to make it look "fresh."
WHOA! I missed mentioning an important part of my Autumn-y day! I had also stopped by Starbucks during my errand-running and grabbed a tasty Pumpkin Spice Frappuccino to make the day more complete :)
 |
| photo credit: starbucks.com |


